The Local Brewery Tour That Beats The Rest
At RiverWalk we’re lucky to have just about any amenity or activity on-site or within a mile. However, we realize that sometimes our guests want to...


This blog post is part of “The Guide to Summer Activities In The White Mountains” and "The Guide to Fall Activities in The White Mountains" blog series.
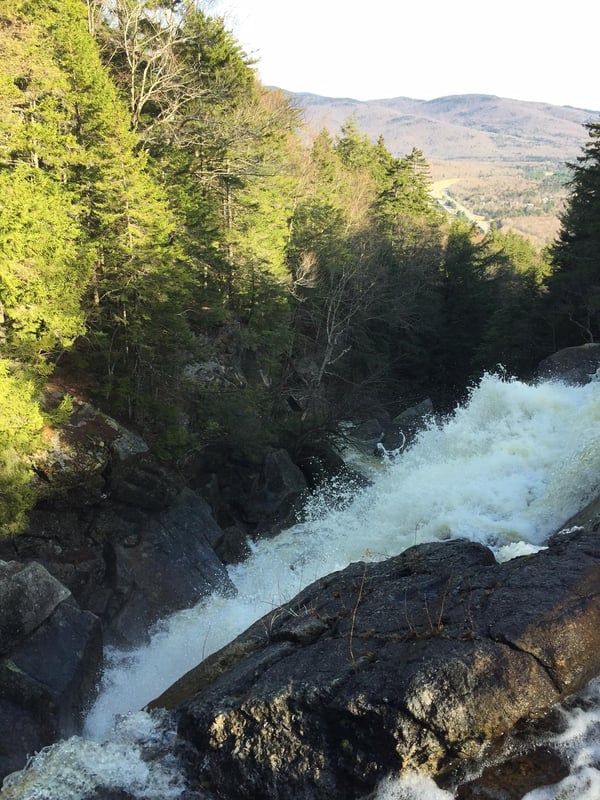
The sun is getting warmer, flowers are blooming, and summer is approaching: It’s time to plan your next hiking adventure in the White Mountains – home to world-class year-round hiking!
It’s important to remember that, although beautiful and moderately trafficked, the White Mountains can be dangerous for inexperienced and unprepared hikers. Even if you are a regular hiker at state and national parks near your home, trekking up and around high mountain peaks presents its own unique set of challenges.
Luckily, there are nearly endless amounts of resources to help you prepare for and plan your next adventure to go hiking in Lincoln and the surrounding White Mountains. Whether a quick outing with small children, a more-intense day-hike with friends, or an overnight backpacking excursion with fellow adventure enthusiasts, we have your covered with some general hiking advice.
The Western White Mountain Chamber of Commerce in North Woodstock, just a short drive from the RiverWalk Resort, has friendly staff who can point out your best trip options depending on the time of year you are in town. The Appalachian Mountain Club has a Visitors Center at the Highland Center Lodge in Crawford Notch where you can get information and purchase maps.
And you can always ask our Adventure Concierge at RiverWalk Resort for trail and weather information, weekend itineraries, family activities, and more! She may even take you on a hike herself!
If there is one rule for what to wear when hiking in the White Mountains, it is: layer, layer, layer. In the White Mountains, you can have all season – spring, summer, fall, winter - in a matter of hours!
With layers, you can add or peel off clothing when your body temperature fluctuates and when the weather changes. Be sure to avoid cotton, which is a poor insulator when wet, making you feel colder and increasing your risk of hypothermia. Look for synthetic or wool materials instead. Burgeon Outdoors makes awesome base layers in their shop across the parking lot from the RiverWalk!
First (base) wicking layer: Tops and bottoms made of wicking material like Polypropylene, Capilene, Thermax, SmartWool or other fabrics help carry moisture away from your body and insulate even if wet.
Second (middle) insulating layer: Warm insulator, like a fleece, down jacket or wool sweater (or a combination of these).
Third, weather-proof layer: Windproof and waterproof pants and jackets made of water-shedding, preferable "breathable" material, like GoreTex is essential.
Other clothing to bring includes:
For longer hikes, the most important make-or-break item for your enjoyment of the adventure is probably your choice of footwear. Blisters and poor support can really suck the life out of a good hike, so take some care when choosing boots and socks for you and your family!
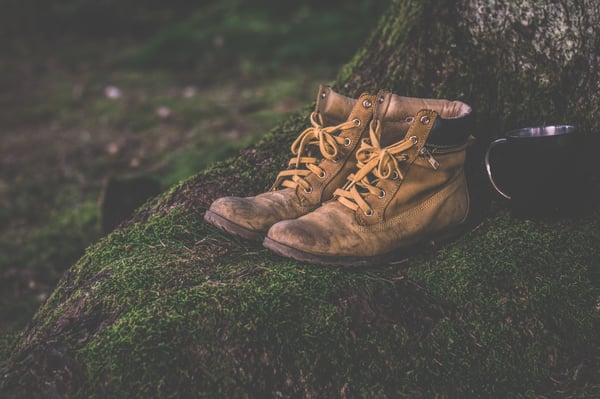
Boots: REI has some great advice on factors to consider when purchasing hiking boots. The fit of your footwear is critical, so try on lots of styles! If it's not comfortable in the store, it certainly won't be on the trail.
One of the most common missteps (pun intended) I see from visitors on hiking trails near me is wearing sneakers or, even worse, sandals when embarking up a 4,000+-foot mountain. There are a lot of rocks and roots on our trails in the White Mountains and bashing an unprotected toe or slipping on wet granite is a great way to get really angry or worse - injured! Additionally, depending on what time of year you are hiking, trails can be wet, muddy and slippery, which will soak through regular gym shoes and give you a real squelchy time.
Socks and sock liners: Hiking-specific socks will provide better cushioning and breathability. Thin liner socks will help prevent blisters, which is critical on long hikes!
Also: My advice is to pack a few squares of moleskin in case you do feel a blister forming. You’ve got to get back down the mountain somehow, even if your toes are rubbed raw, and a little patch of moleskin can help you finish those last few miles. Also pack a few extra pairs of socks so you can switch to a clean, dry pair. Your toes will thank you later!
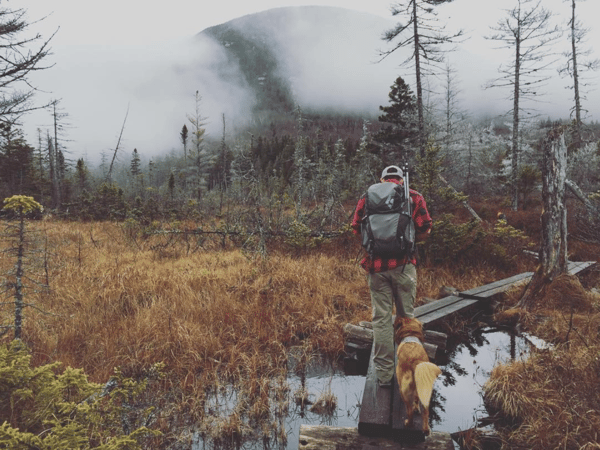
Packing for an overnight trip requires more gear than a day hike. When you're first starting out, you may want to rent or borrow gear before making such a significant gear investment. Keep in mind, though, that items like backpacks need to fit you well for maximum comfort, meaning borrowed or rented gear might not be as comfortable as gear that has been fitted to you. Check out Effortless Adventure for your White Mountains gear rental needs.
Even though you will be hiking on well-marked trails in the White Mountains, it is still a good idea to bring a topographic map of the region and a compass, in case you take a wrong turn. The Franconia Notch State Park and Crawford Notch State Park websites have hiking maps online that you can download and print. (Note: These maps are appropriate for most day hikes; longer multi-day backpacking excursions may require more extensive maps that you can order or pick up at a Visitors Center.)
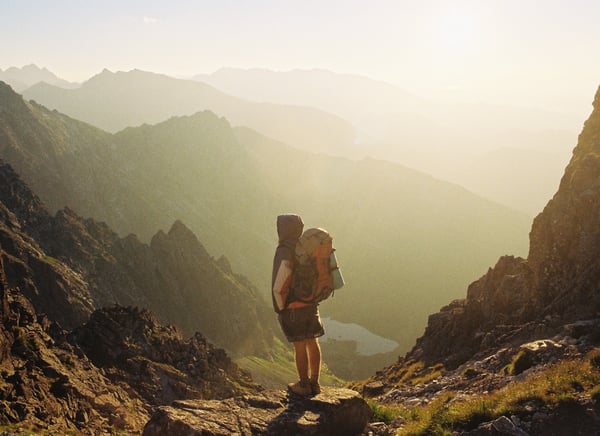
Your backpack should provide enough space for all your gear without causing you discomfort. A Camelbak hydration pack may have all the space you need to pack for shorter hikes: water, a light snack, a cell phone, and some first aid items. Parents who are carrying lunch for the kids (as well as the inevitable jacket or sweatshirt) may look for a bigger pack, like the Camelbak MULE pack.
Backpackers will of course require more research for the right pack. A bag between 40 and 70 liters is appropriate for most 2-4 day trips, while a bag of at least 70 liters is recommended for trips of 5 days or longer.
For comfort, style is less important than fit. There are two general styles, internal and external frame, and either one can make a perfect backpacking pack. The key is to make sure that 80 percent of the pack weight is carried by your hips. This is ensured by proper fit, particularly with internal frame packs. Get good advice from an experienced outdoor gear retailer and try on many varieties to find one that feels best.
To choose your tent, consider:
For most overnight trips, a three-season tent will be your best bet. They're a snap to set up, are great in most weather, and their parts can be split up between your backpacking buddies to reduce weight. Backcountry.com has some good tips on purchasing your first tent.
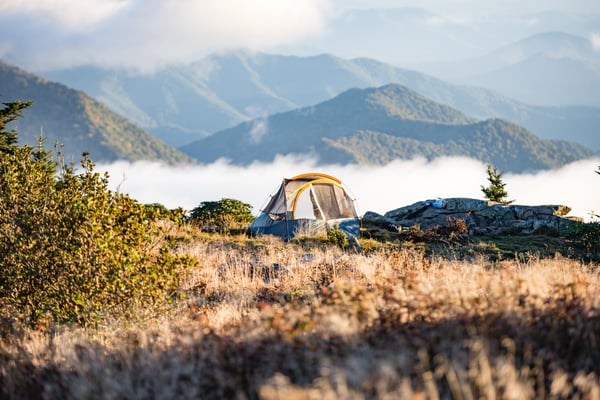
For extra protection, you can opt to bring a ground tarp. Just make sure that it is two inches shorter than the edges of the tent, since larger ground covers can funnel water, leaving both you and your tent soaked.
Choosing the right sleeping bag and pad can mean the difference between a good night's sleep and a long, uncomfortable night followed by a tired, miserable day.
Sleeping bags are rated with a degree to indicate the lowest temperature at which the sleeping bag will keep you comfortable (e.g. a "20 degree" bag should keep you warm in temps above 20 degrees). Keep in mind that even in summer, night temperatures can dip below freeing in the mountains. This means it's a good idea to choose a "three-season" bag that's rated between 0 and 15 degrees - it'll keep you warm even when cold and, if it's too warm, you can always unzip it slightly to let in cooler air.
Sleeping pads insulate you from the cold and from any rocks or roots on the ground. Many backpackers like “self-inflating” pads, but if you’re looking to save weight or money, an inexpensive closed-cell pad will work just fine.

Before heading into the backcountry, make sure that your First Aid kit is well stocked, and check to make sure nothing's out of date. REI has good advice about what kind of kit to purchase, as well as what basic supplies should be included in any Wilderness First Aid Kit, which includes:

Eating is pretty important when you're burning around 5,000 calories a day, if not more. One thing to think about when shopping for backcountry foods is weight to calorie ratio. Look for lightweight foods, like dehydrated refried beans or hummus mix, rice, and noodles that will fill you up and give you energy without loading you down. Avoid cans, bottles or bulky packaging that you'll have to carry out later. If you have the budget for it, pre-packaged dried meals can be a good choice.
Breakfast options range from instant oatmeal to homemade granola, instant soups, and toaster pastries. Hot cocoa or Tang can make waking up on a cold morning that much easier.
Even if you’re just planning a day hike, you will probably end up packing lunch to eat on the trail. Consider dense, calorie-rich foods such as bagels, cheese, nuts, salami, trail mix, dried fruit, powdered hummus, jerky, M&Ms, drink mixes like powdered Gatorade and energy bars. Snack throughout the day to keep energy levels higher and to avoid feeling full.
If you are planning an overnight backpacking trip, you will have time after setting up camp to prepare dinner on a camp stove or around a fire. Wildbackpacker.com has some interesting backpacking dinner ideas, or keep it simple with pre-packaged mac-and-cheese or dehydrated refried beans with instant rice.
It is essential to stay hydrated while hiking. Proper hydration keeps your body working at its proper levels and protects you from weather-related backcountry perils like hypothermia and heat exhaustion.
The American Council on Exercise recommends drinking:
Depending on your plans and whether or not you have children in your care, you may want to carry an extra liter in case of emergency. And if you’re bringing Fido, he’ll need lots of water too!
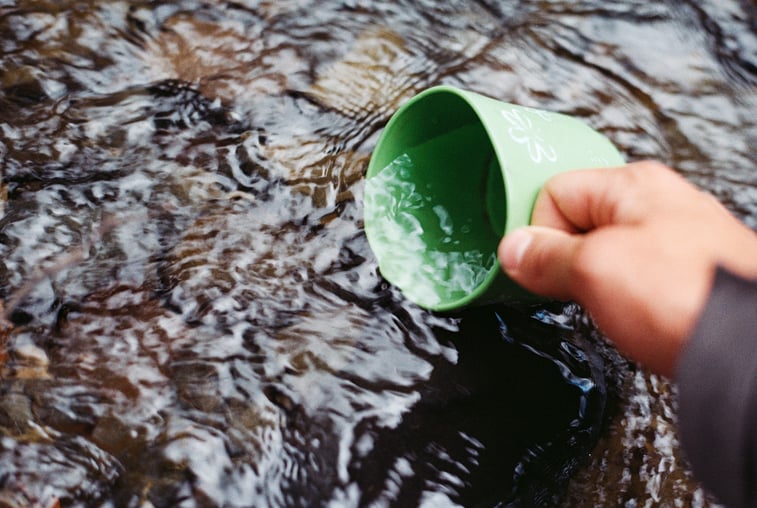
Of course, you can't just drink water straight from the stream. Even the purest looking water can contain pathogens like giardia, which can cause serious illness in the backcountry.
Luckily, there are a number of ways to treat water to make it safe for drinking. The simplest and most effective method is simply bringing water to a boil. If you're not camping, though, there are chemical tablets and pump systems that can quickly purify water for drinking.
Now that you’ve gathered your supplies, it’s time to read up on some of the different trails you can choose.
AMC lists important information about hiking each of the 48 4,000-footers of the White Mountains.
AllTrails.com is a community-centered website where hiking enthusiasts share information and opinions about their favorite excursions. The section on the White Mountain National Forest has nearly everything you would need to know about where to park, how long each trail is, how moderate to strenuous the hike will be, and whether or not the trails are suitable for children.
Here’s a little taste to get you started in planning your next few hikes in the White Mountains.
SHORT HIKE: Bald Mountain & Artist’s Bluff Loop (1.3 miles, easy to moderate)
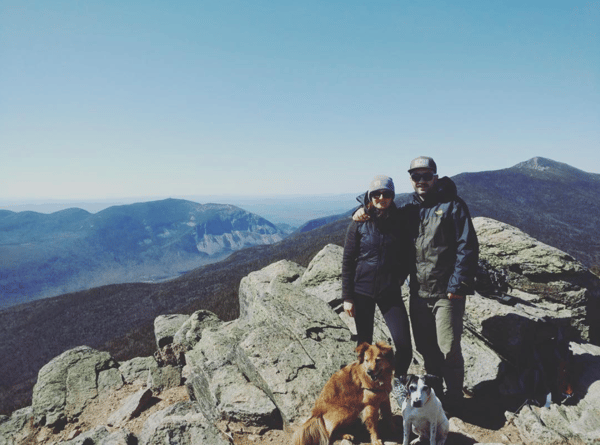
This loop is short and moderately steep. It takes you up to two small peaks (Bald Mountain and Artist’s Bluff) which have great views of the Franconia Notch Valley, Echo Lake, Cannon Mountain, Mount Lafayette and the Franconia Ridge. This is a great choice for inexperienced hikers who are relatively fit and enthusiastic about experiencing the outdoors!
MEDIUM HIKE: Welch and Dickey Loop (4 miles, moderate to strenuous)
This loop is on the strenuous side of moderate, with some steep climbs and scrambling required. This may not be a good choice for families with small children or those with a fear of heights, due to steep rocks near the summit. Great views!
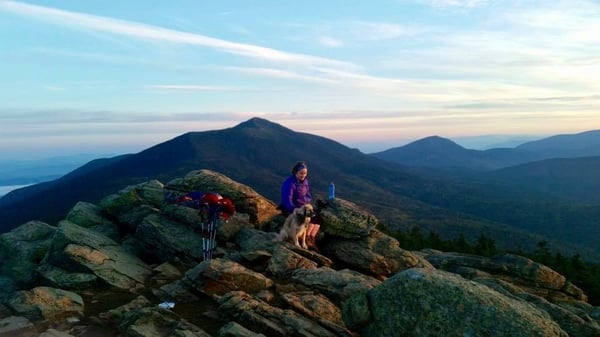
LONG HIKE: Franconia Ridge Trail Loop (9 miles, strenuous)
As we mentioned in a previous post, serious hiking enthusiasts can set aside the whole day to hike the Franconia Ridge Loop, a nine-mile, seven-hour excursion that was included on a National Geographic list of the “World’s Best Hikes.” The Franconia Ridge trail works its way up above treeline for more than a mile and a half with stunning views of the surrounding White Mountains. Check weather conditions before heading out as this is not an easy hike and a good portion of it is exposed to the elements.
The most popular route is up the Falling Waters Trail to the Franconia Ridge Trail and down the Old Bridle Path. The trailhead for the Falling Waters Trail is at the Lafayette Campground.
Backpackers should check out the AMC’s Best Backpacking in New England guide for multi-day trips to take you through the Presidential Range, the Pemigewasset Wilderness and Mount Moosilauke.
If you stick to the trails, pack and outfit yourself correctly and use common sense while hiking, you'll probably never have to worry about getting lost or seriously injured. If you do run into trouble, though, leaving a trip plan with someone you trust can significantly increase the odds of a quick return to safety.
Trip plans should include:
If you have questions, come talk to the Adventure Concierge in the lobby of RiverWalk Resort! We have a wealth of information about hikes appropriate for varying ages and fitness levels, as well as preparation tips to get you off the couch and on the trails!
This blog post is part of “The Guide to Summer Activities In The White Mountains” and "The Guide to Fall Activities in The White Mountains" blog series.

At RiverWalk we’re lucky to have just about any amenity or activity on-site or within a mile. However, we realize that sometimes our guests want to...
Ah, February. January is behind us and love is in the air. And the air is never fresher or more romantic than it is here in the beautiful White...